Photo and Testimonial Submission Form
Use this form to submit your photos or testimonial and select your reward. This form will serve as your consent to use the photos. If you prefer you can Email us the information.
Earn Valuable Rewards
Earn free tips for IntraCel or IntraGen, or an extension to an existing service contract or warranty.
Patient Release Form
Use this form if the patient in your photos is recognizable. Download the file for your patient to sign, than upload a copy with the the Photo Submission Form where specified.

Patient Photo Release Form (PDF)
Quick Before and After Photo Guide
Lighting
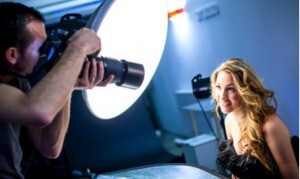 Keep lighting consistent. If you use side lighting to accentuate wrinkles you must use the same lighting in the after photo. Take your photos in the same room with the same lights. Close the drapes because daylight is inconsistent. Make sure the shadows are similar in the before and after photos.
Background

Match the background to the skin type. White or light pastel for light skin, a dark background for darker skin. A black background will make light skin look washed out. Use the same background for the before and after photos.
Position

Use a tripod. Mark the spot on the floor where you take photos and note the height of the camera and patient. Keep the camera at eye level to the subject and perfectly level to avoid distortion. Use a telephoto lens if you have one. A wide angle lens will distort and can create a fish eye appearance.
Pose
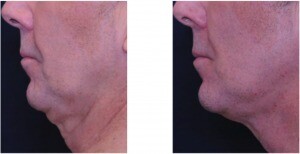
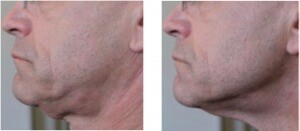 Make sure the patient is in the same pose before and after, at the same angle. Identify landmarks in the room for the patient to look straight at to get different angle. Important – make sure the patient has the same expression and same head position. The photo above shows an excellent improvement under Steve’s chin just by moving his head. No treatment was performed. The picture below is from the Profound Contour – Did the treatment really do this?